Sew a Baby Girl Romper: Easy Steps for Beginners
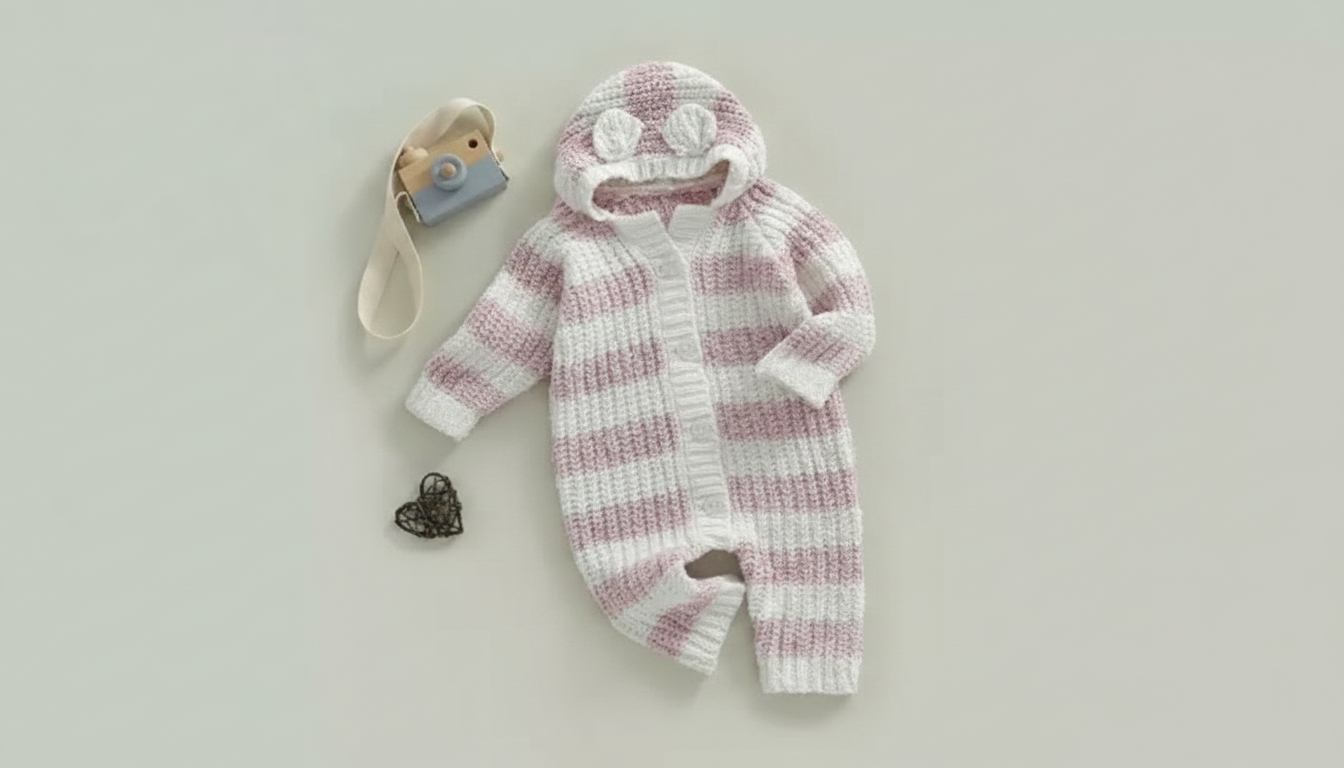
How to make a romper for a baby girl?
Making a baby girl romper is a manageable sewing project if you keep the pattern simple, choose a soft fabric, and build it in a few clear stages: cut, assemble the body, add leg and neckline finishes, then close with easy fasteners. For a cozy everyday option, knit fabrics (like cotton jersey or French terry) are forgiving and comfortable against sensitive skin.
1) Pick a pattern and the right fabric
Start with a romper pattern in your baby’s current size and consider a little growing room in the length. Look for a style with snap closures at the inseam for fast diaper changes and a stretchy neckline (envelope neck or a simple band). Pre-wash and dry your fabric to prevent shrinkage later, and choose soft, breathable knits for comfort.
2) Gather notions and prep pieces
Typical supplies include matching thread, snaps (or a short zipper if the pattern calls for it), lightweight interfacing for snap plackets, and optional rib knit for bands. Cut your pieces carefully, marking notches and the front/back so seams line up cleanly. If you’re using knit fabric, a ballpoint needle and a stretch stitch (or serger) helps seams stay flexible.
3) Sew the romper in a practical order
Usually you’ll sew shoulder seams first, attach sleeves (or finish armholes for a sleeveless style), then close side seams. Next, finish the neckline with a band or binding, followed by leg openings. Add the inseam snaps last so you can test the fit and placement. If you want a warm, layered look—especially for cooler weather—see the hooded knit styling and comfort tips here: infant girl knit hooded romper cozy layering guide.
4) Fit, safety, and finishing touches
Keep seams smooth and trims minimal to avoid irritation. Avoid long ties or small decorative pieces that could come loose. Test snaps firmly, trim threads, and give the romper a gentle wash before wearing.
FAQ
What fabric is best for a baby romper?
Soft cotton jersey, interlock, or French terry are great choices because they’re breathable and stretchy. They’re also easier to sew than slippery or stiff fabrics.








Leave a comment